Surfing Veggies

Step 1: Cut Fabric and Prep Zipper

IMG_7938

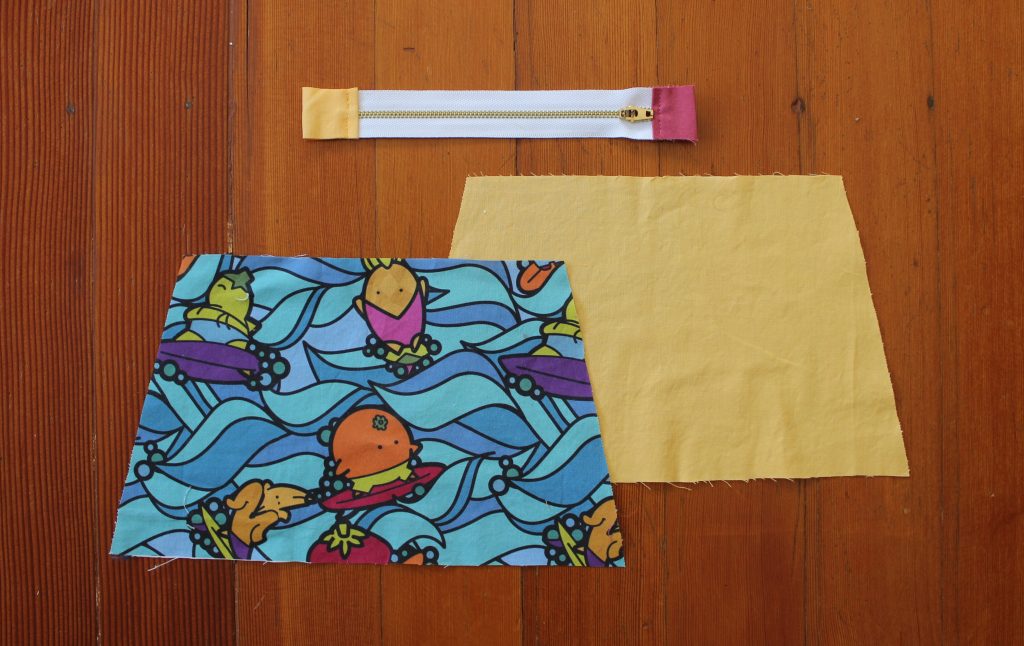
Cut 2 pieces of the patterned fabric for the outer panels and 2 pieces for the lining panels. Cut two small rectangles to finish the edges of zipper.

I’ve decided to make brass zippers a part of my branding. Because they are notorious for being a little bit stubborn, I’ve also added the tabs at the end of the zipper to make opening and closing easier.

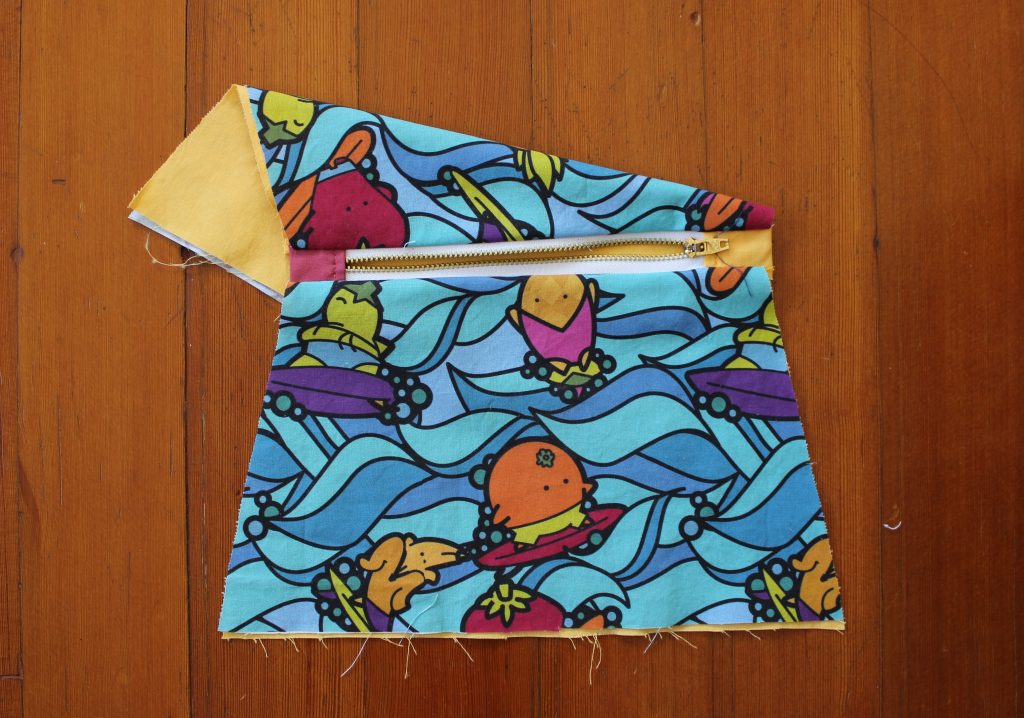
STEP 2: Connect Panels to Zipper

IMG_7939
Connect 1 outer panel and 1 lining panel to each side of the zipper. Make sure your panels are facing the correct direction, I just youTubed a bunch of tutorials. Much easier to follow live videos.

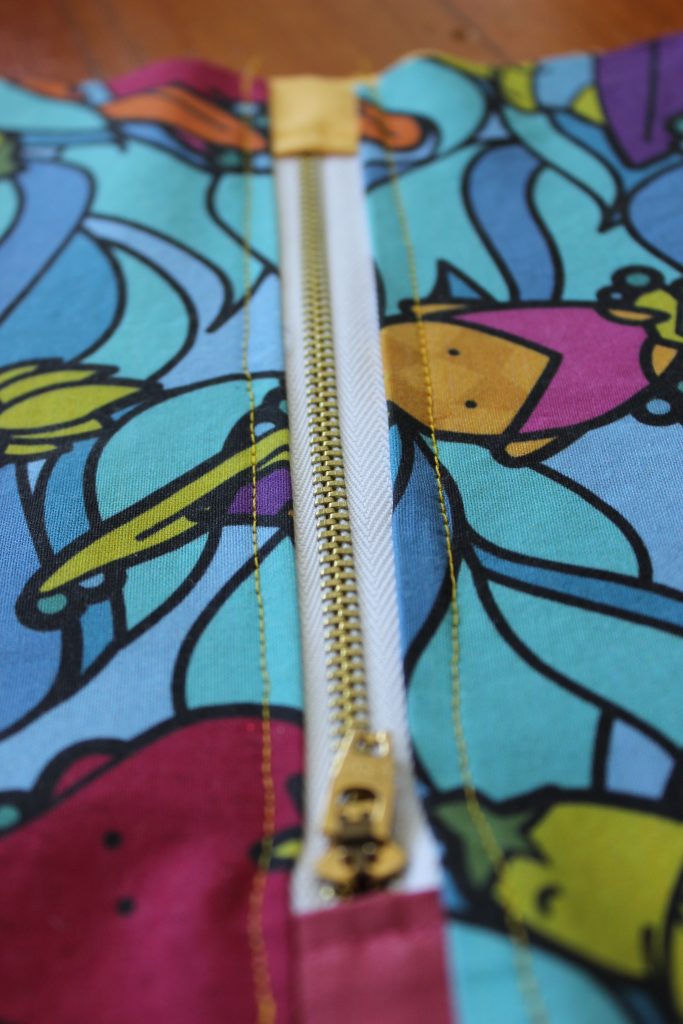
STEP 3: Top Stitch (optional)

IMG_7941
This step is optional, top stitch doesn’t really have any functional benefits, but some people thing it makes the bag feel more complete. Also…the sides should be evenly spaced, obviously I have some practicing to do.

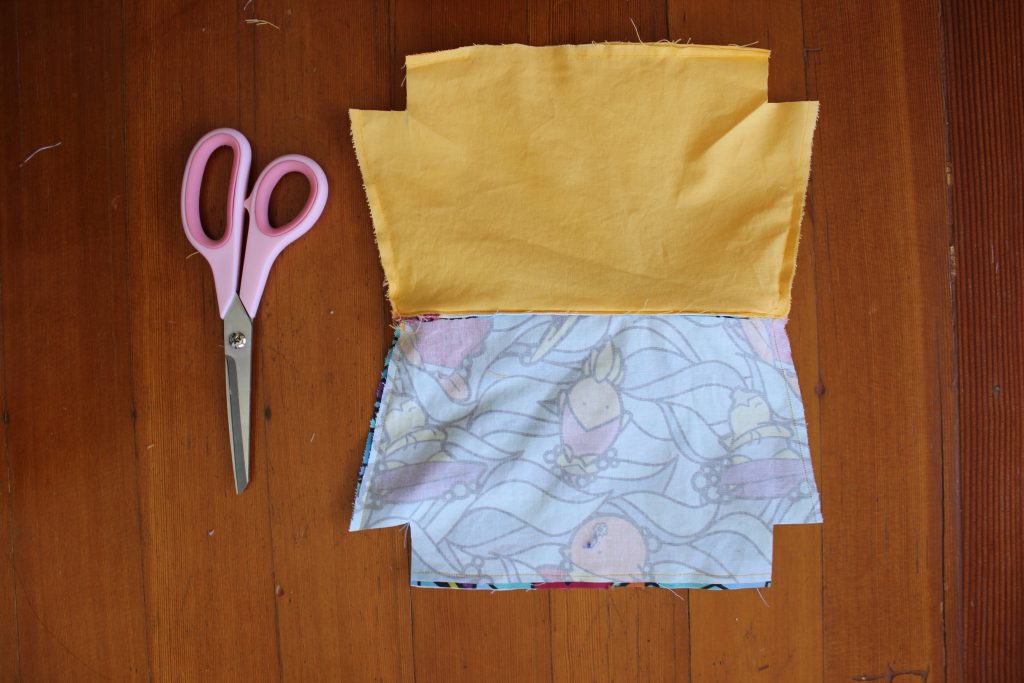
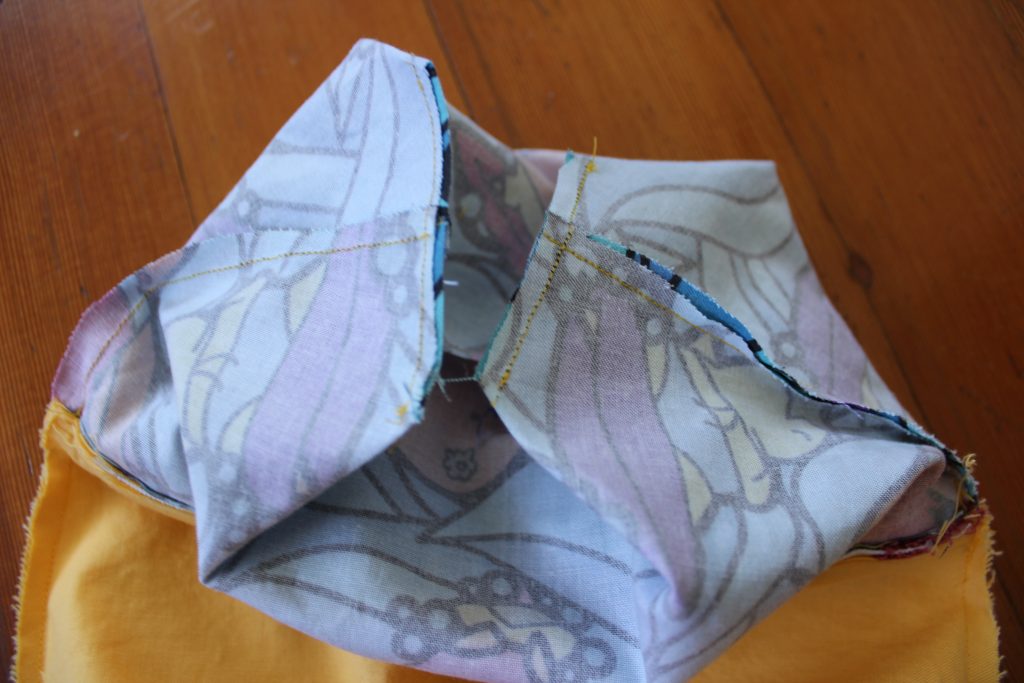
STEP 4: Sew Sides & Cut Corners

IMG_7942
Sew the matching panels together and cut the corners to create the triangle bottom of the bag. This is also when you sew in the tag to the side of the lining. Don’t forget to leave an opening while sewing your lining so that you can turn the bag inside out.

STEP 5: Iron and Sew Corners

IMG_7944
Use your master origami skills to fold and flatten the corners together like sew. The stitch together.

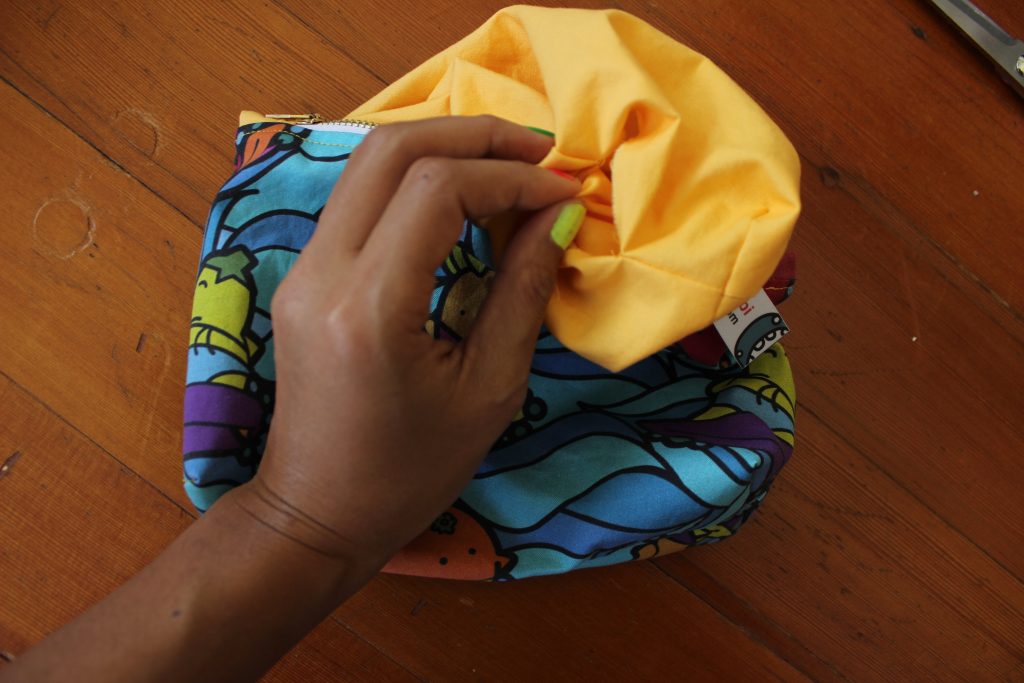
STEP 6: Turn Inside Out

IMG_7946

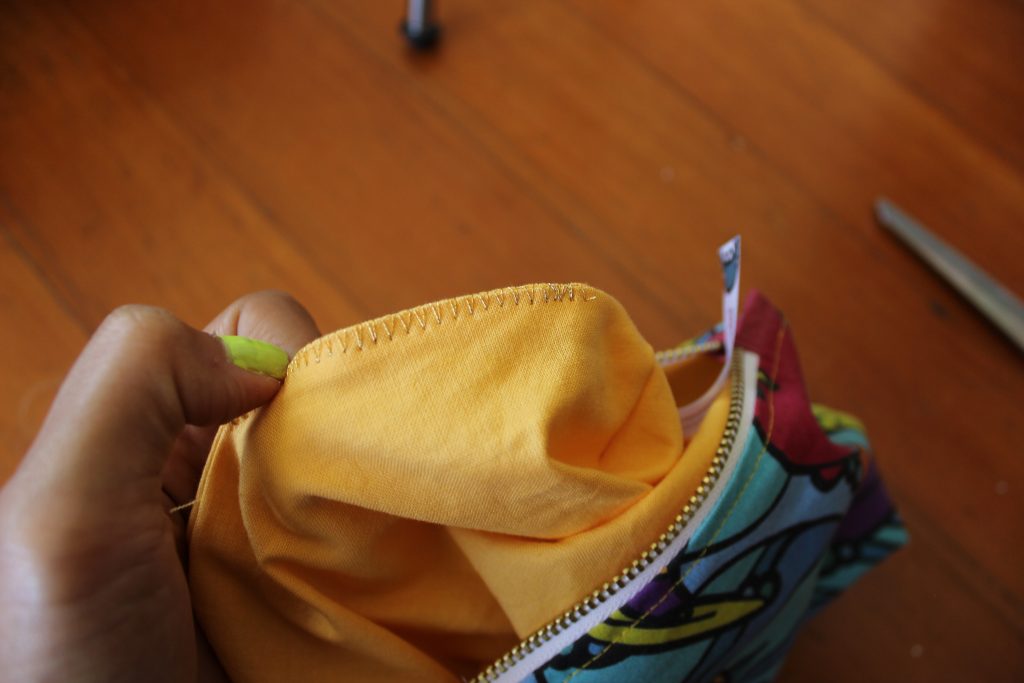
STEP 7: Sew Opening closed

IMG_7947
In addition to the brass zippers, gold thread is another tell tale of my work. I use a large zigzag stitch to close the bottom of my bag.


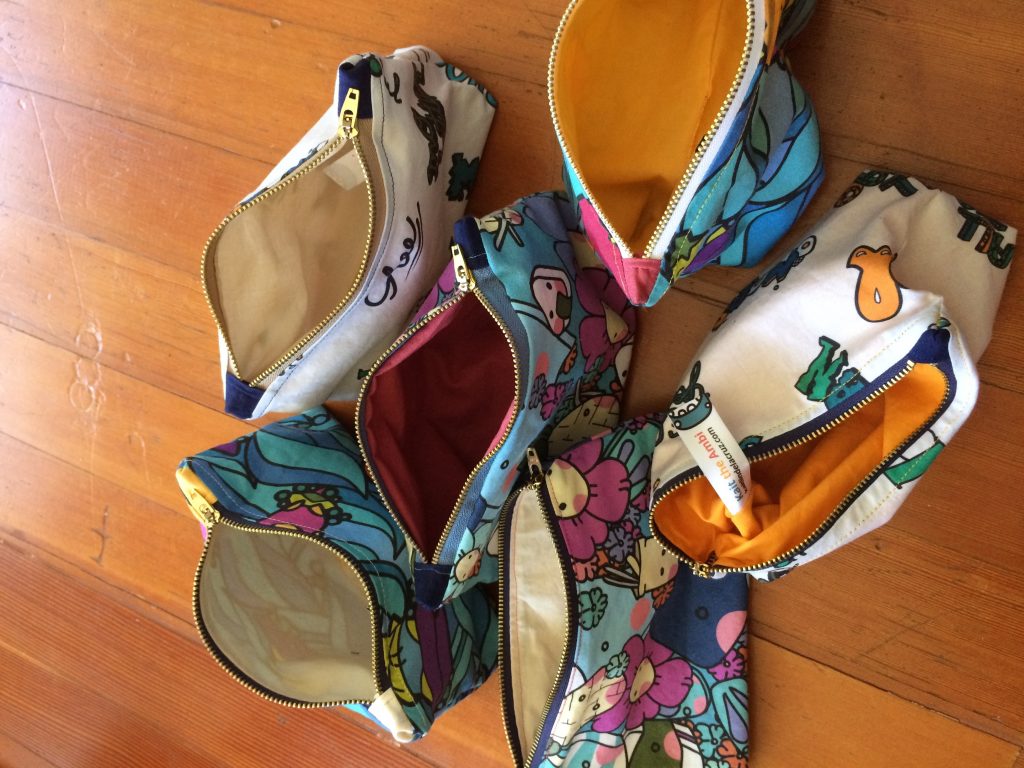
And the bag is done! Rinse & Repeat with any fabric!

IMG_0780

One Reply to “Surfing Veggies”

Leave a Reply

Your email address will not be published. Required fields are marked *