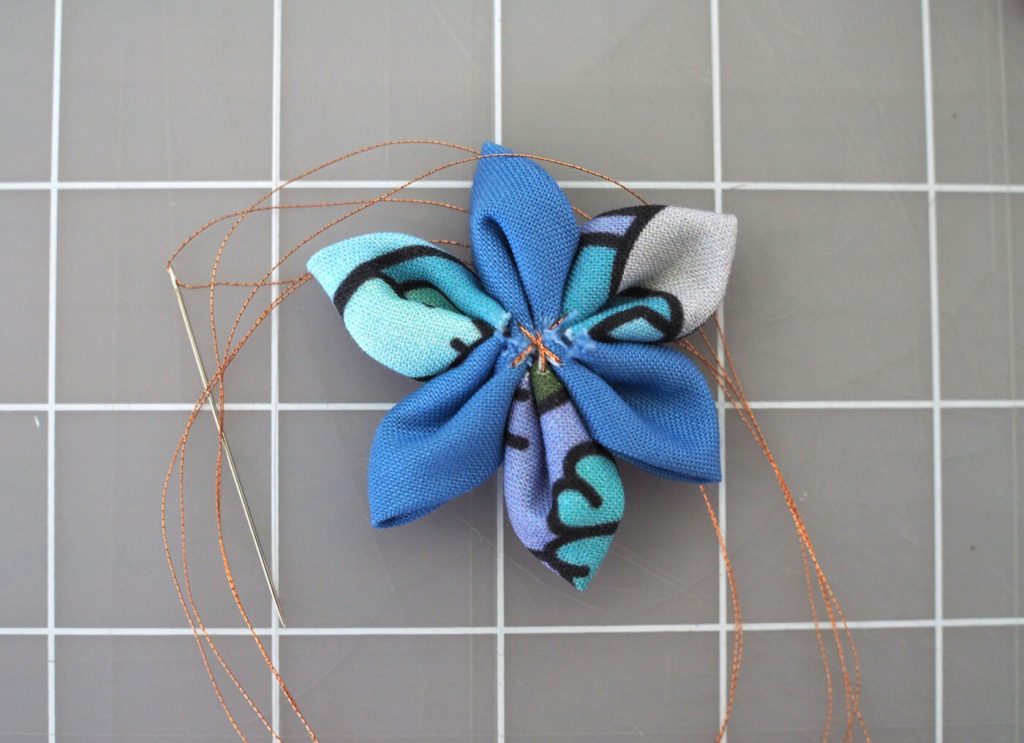
Lately, floral has been a large influence in my artwork. And since the trend only seems to be growing, I thought I’d take a new approach to floral artwork by using my fabric scraps to make 3d fabric flowers. I am so delighted with how the flowers turned out that I’d like to share the process. The steps are similar to making paper flowers, in the sense that you cut petals and then mold them and bind them together.
Step 01: Cut petals – You can cut them at any size as long as they are all the same size. Each flat flower consists of 6 petals.
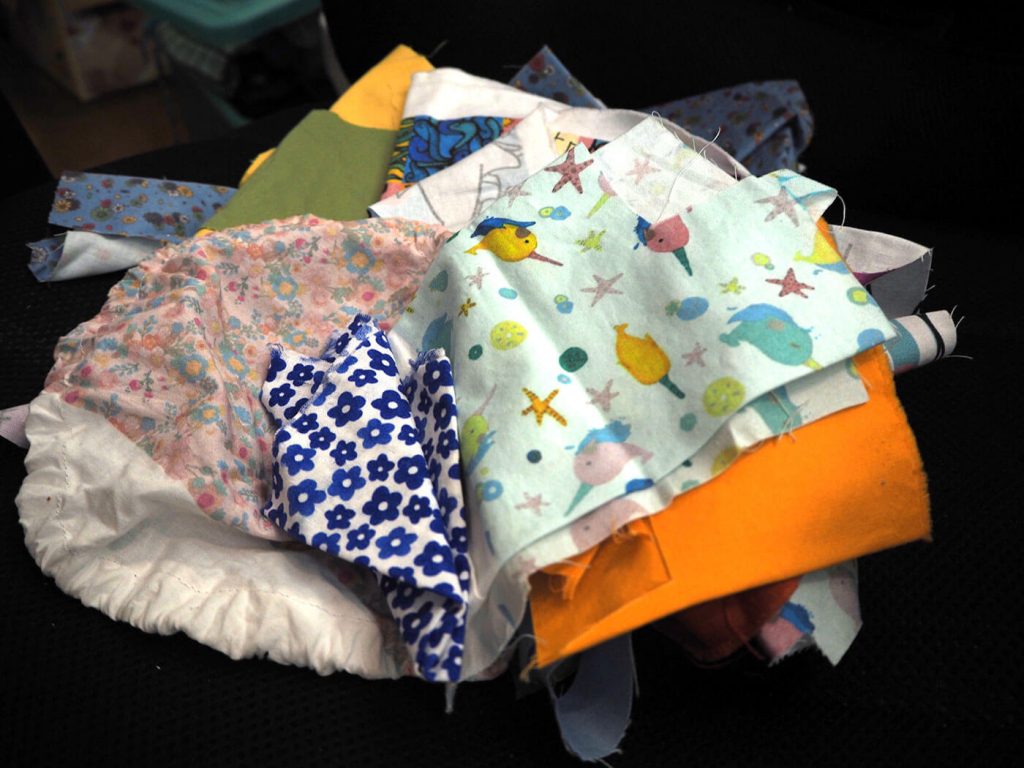
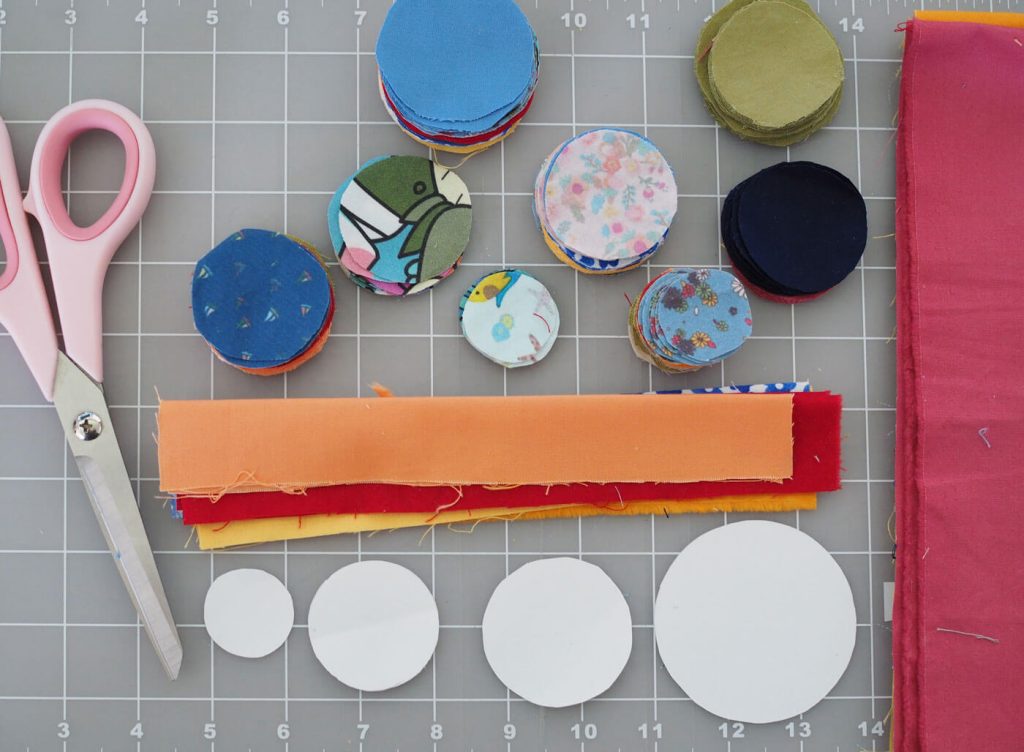
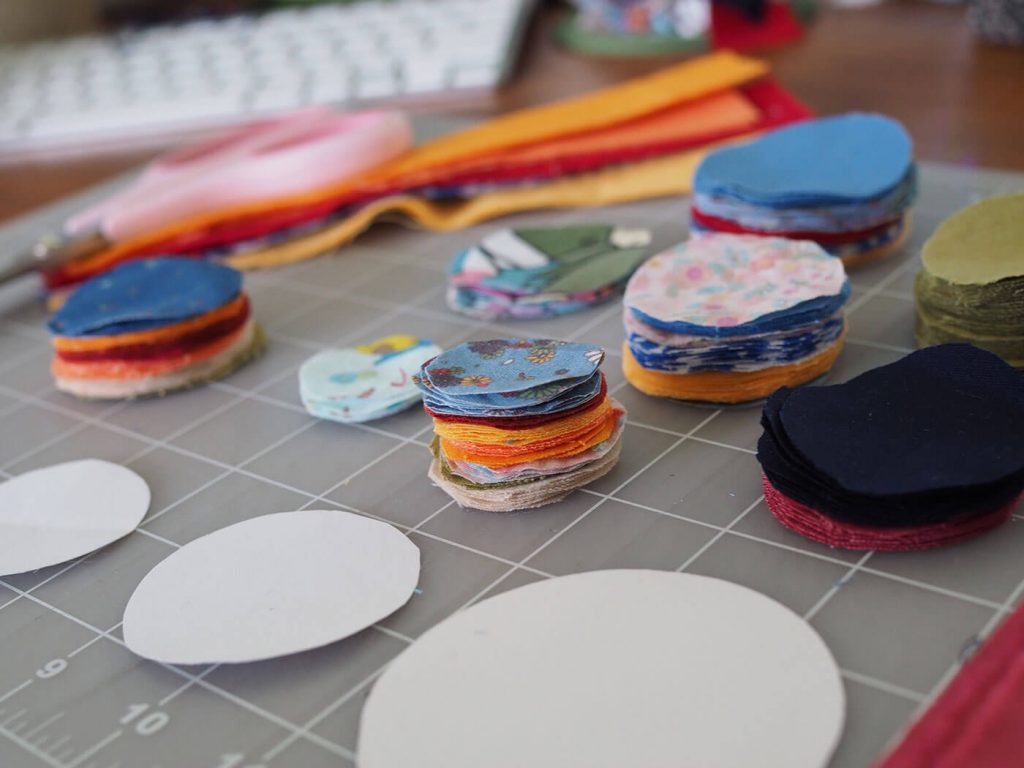
Step 02: Choose Petals – Select your petals. In this particular example, we’ll be using 3 solid and 3 printed petals. 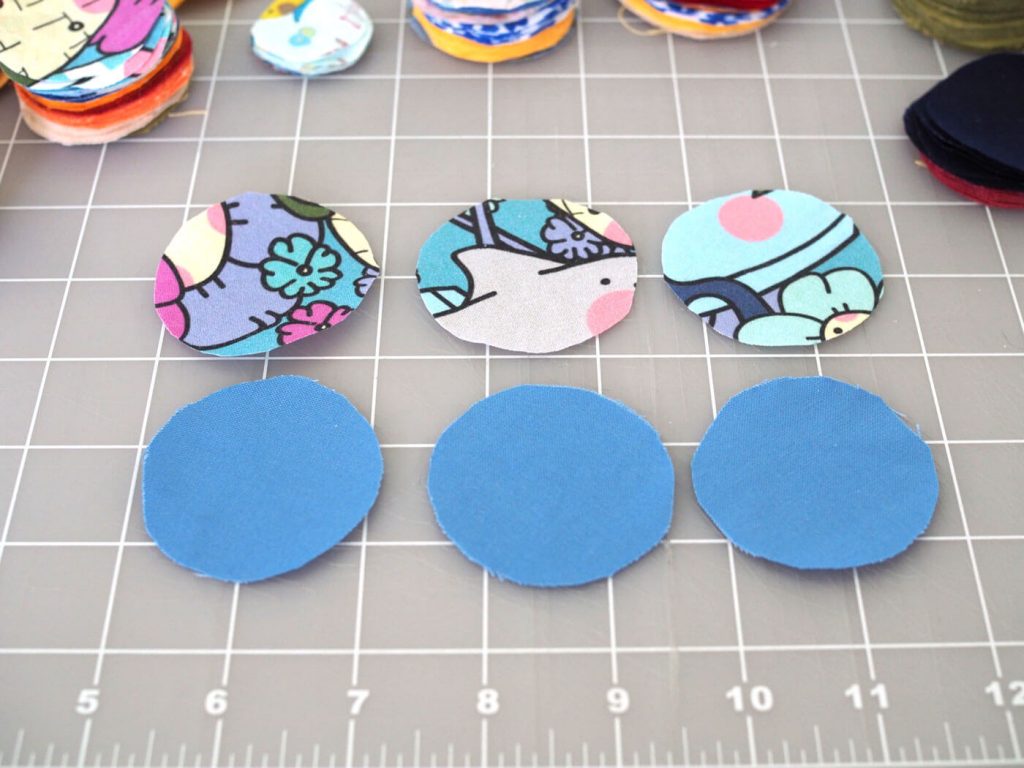
Step 03: Fold Petal – Take your first petal and fold it in to fourths.
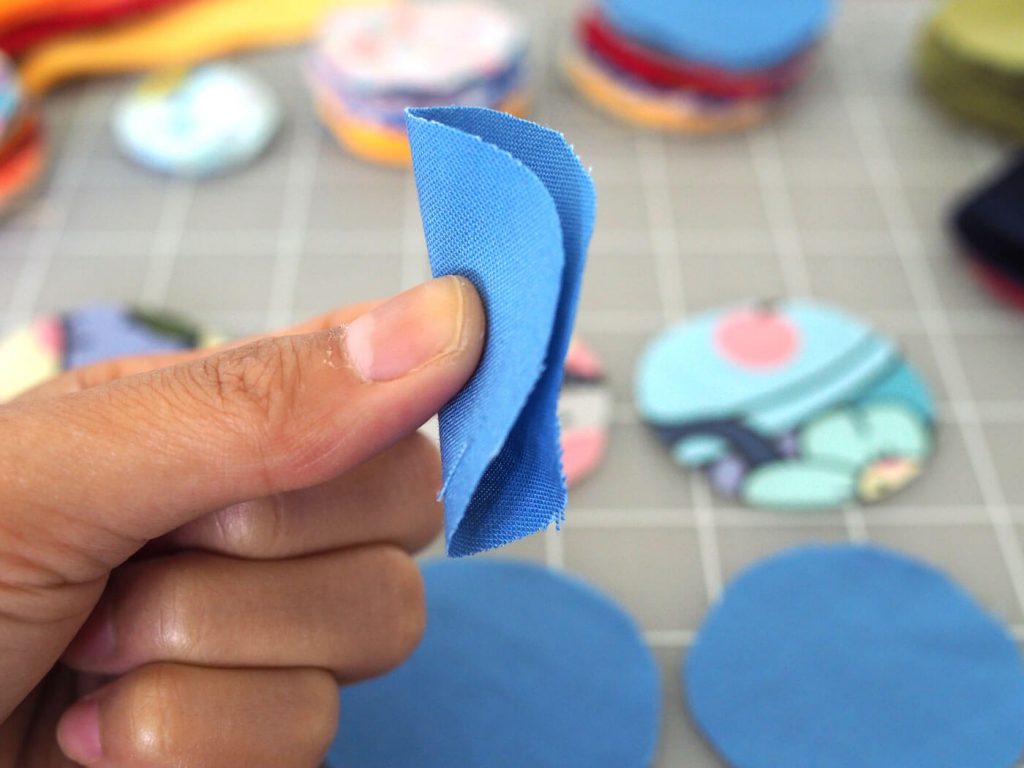
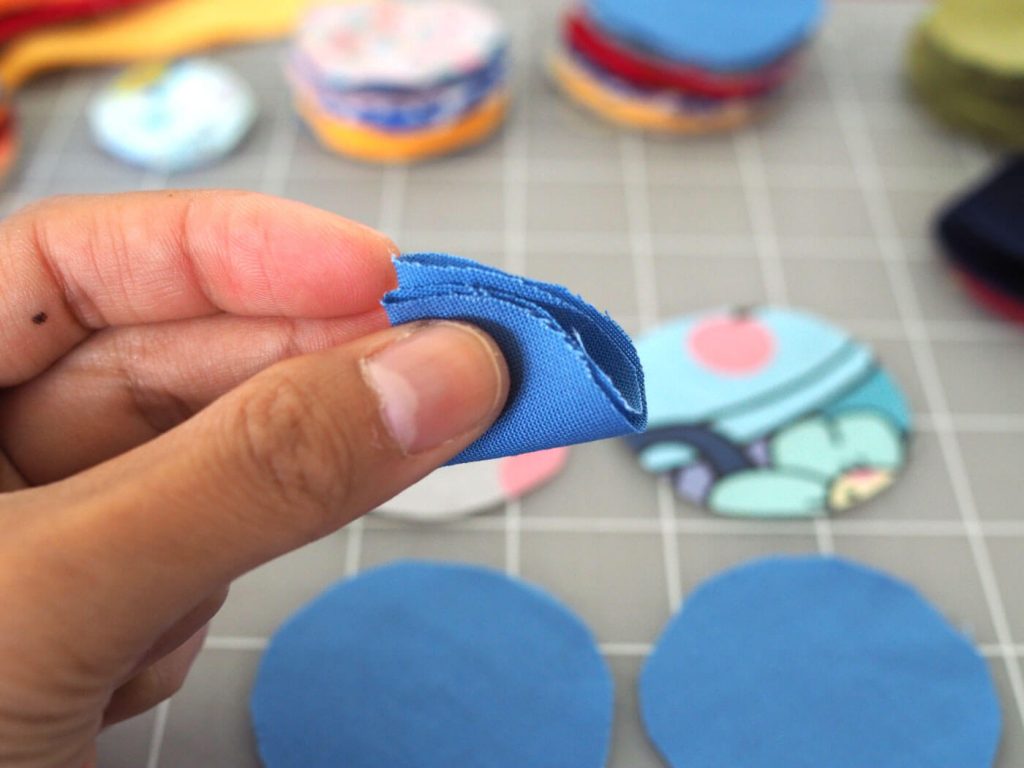
Step 04: Stitch Petal – Once your petal is folded into fourths, use a normal stitch starting from the folded edge. On the last stitch, make sure your needle exists on the same side you entered on the first stitch.
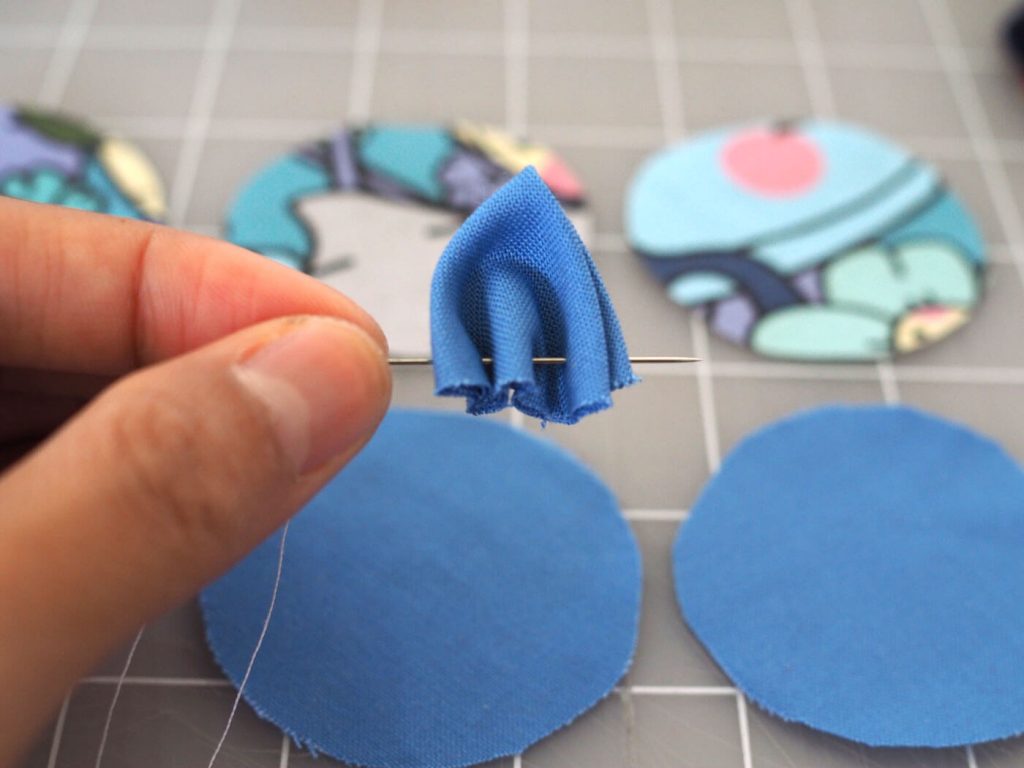
Step 05: Stitch All Petals – Stitch the rest of your petals on in the same fashion. Make sure you always start the stitch from the same side (in this case the folded side of the petal). Once you’ve stitched all the petals to each other, you’re going to squish them to the knotted end of the thread.
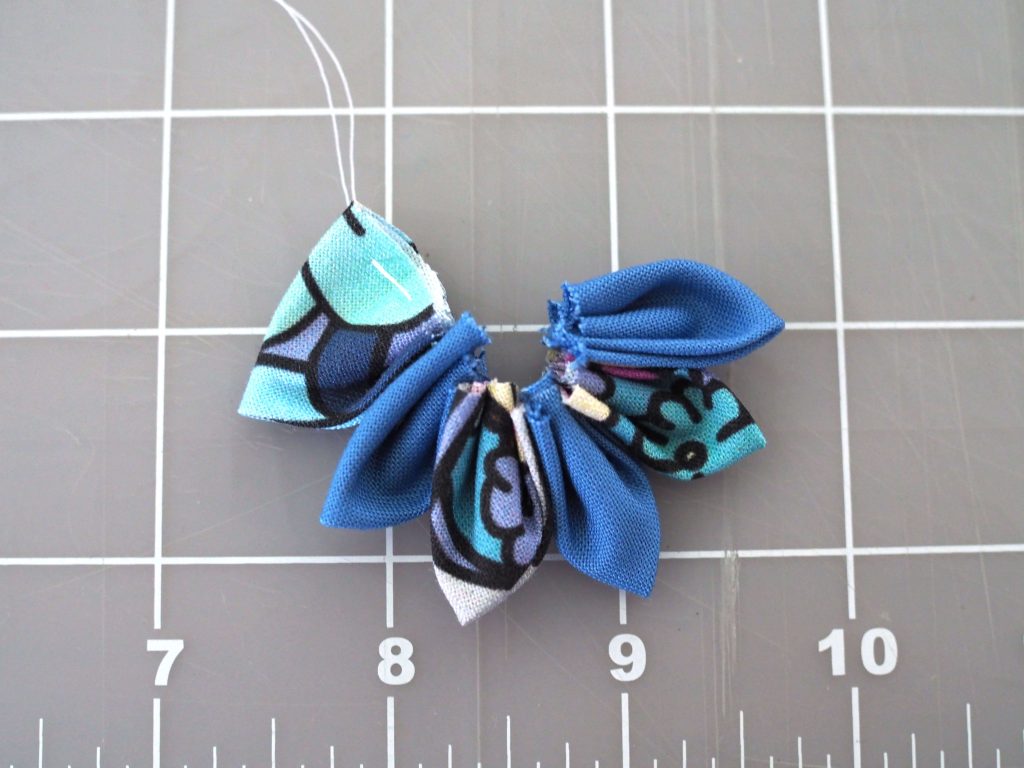
Step 06: Closing the Circle – To close off your petal circle, you are going to stitch into the first flower (in the same pattern) and then half way into the second petal.
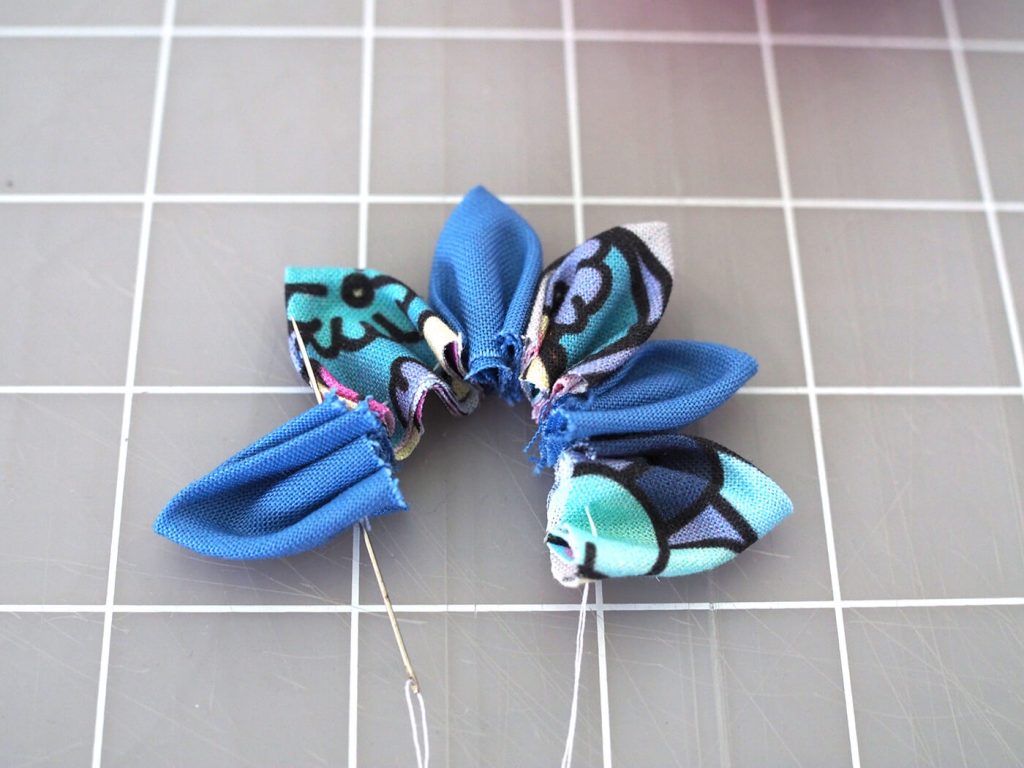
When you get to the second petal, finish your stitch in the middle of the petal (stitch goes in – out – in).
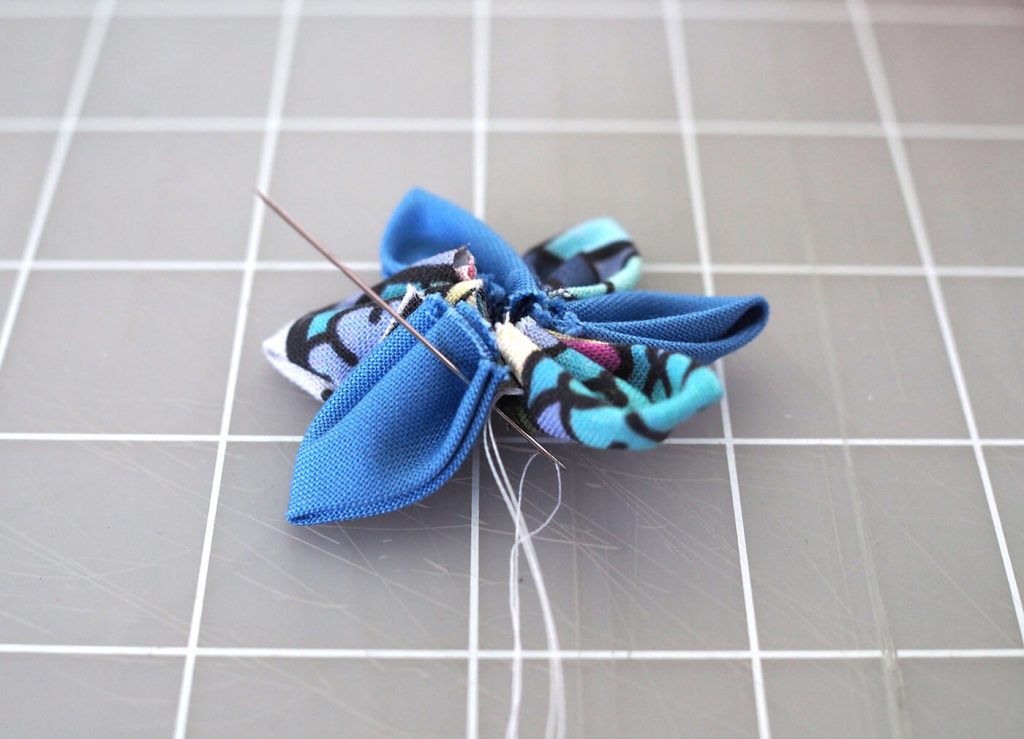
Then once again pull your thread tight to bring the petals to a nice, even circle.
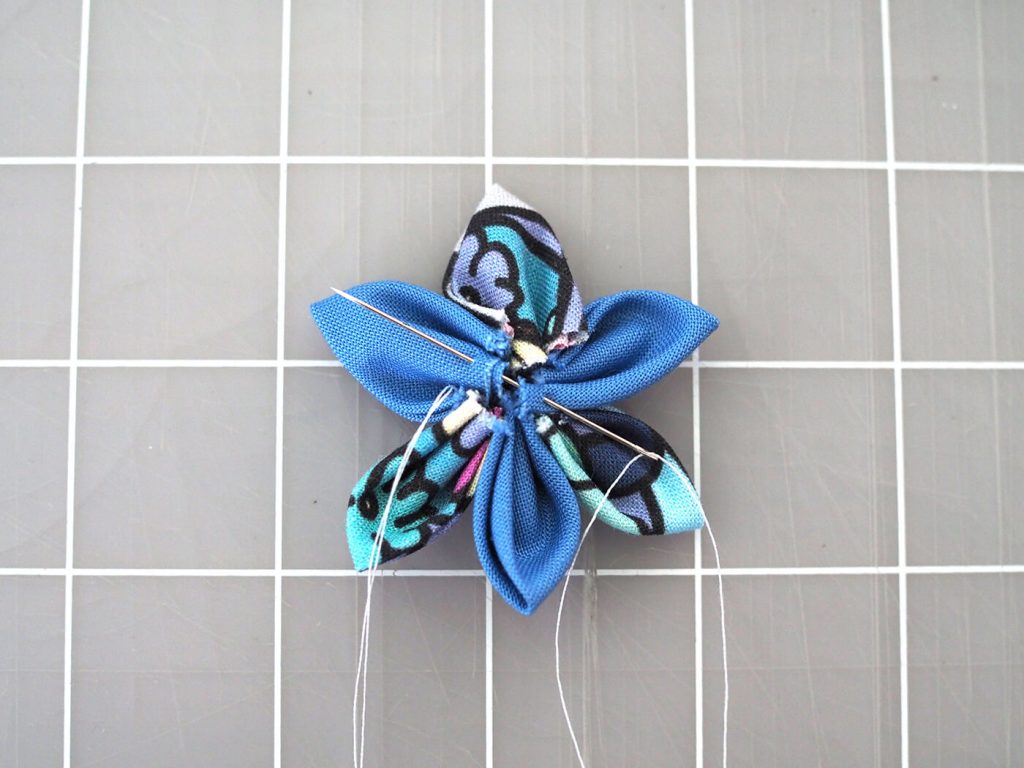
At this point I like to do a couple of extra stitches through the middle of the flower to help stabilize the circle. Once you feel like the flower is sturdy enough, tie a normal knot, cut the thread and voila! 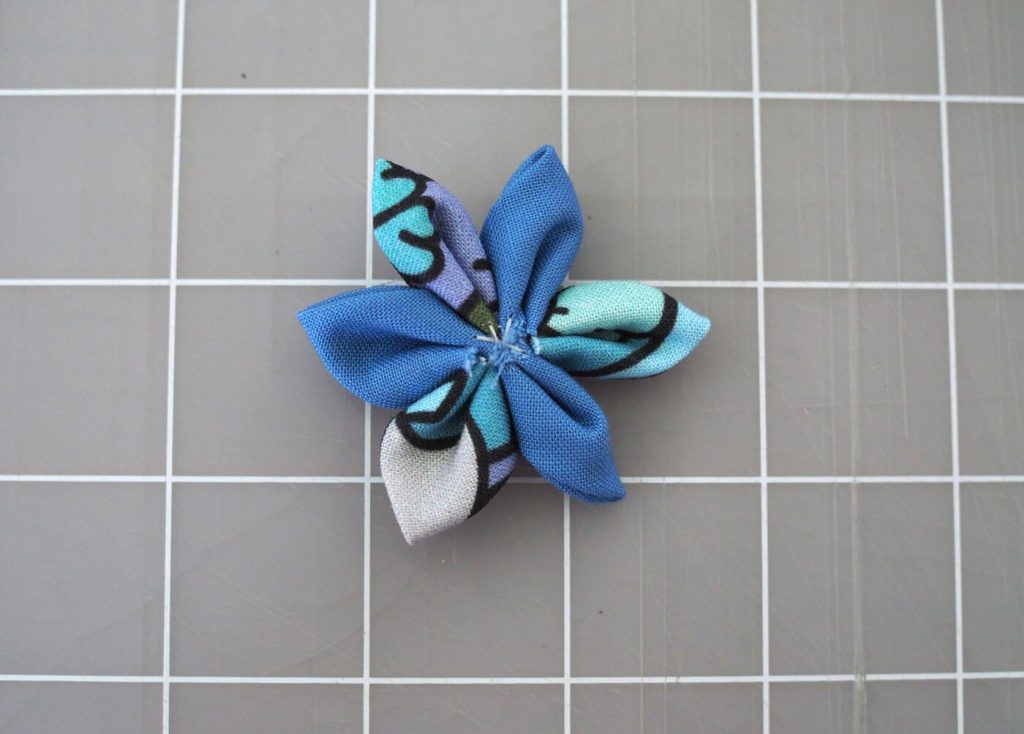
Step 06: Finishing Touches – Now that your flower is complete, you can add embellishments to make your flower special.
